New rockers and pushrods

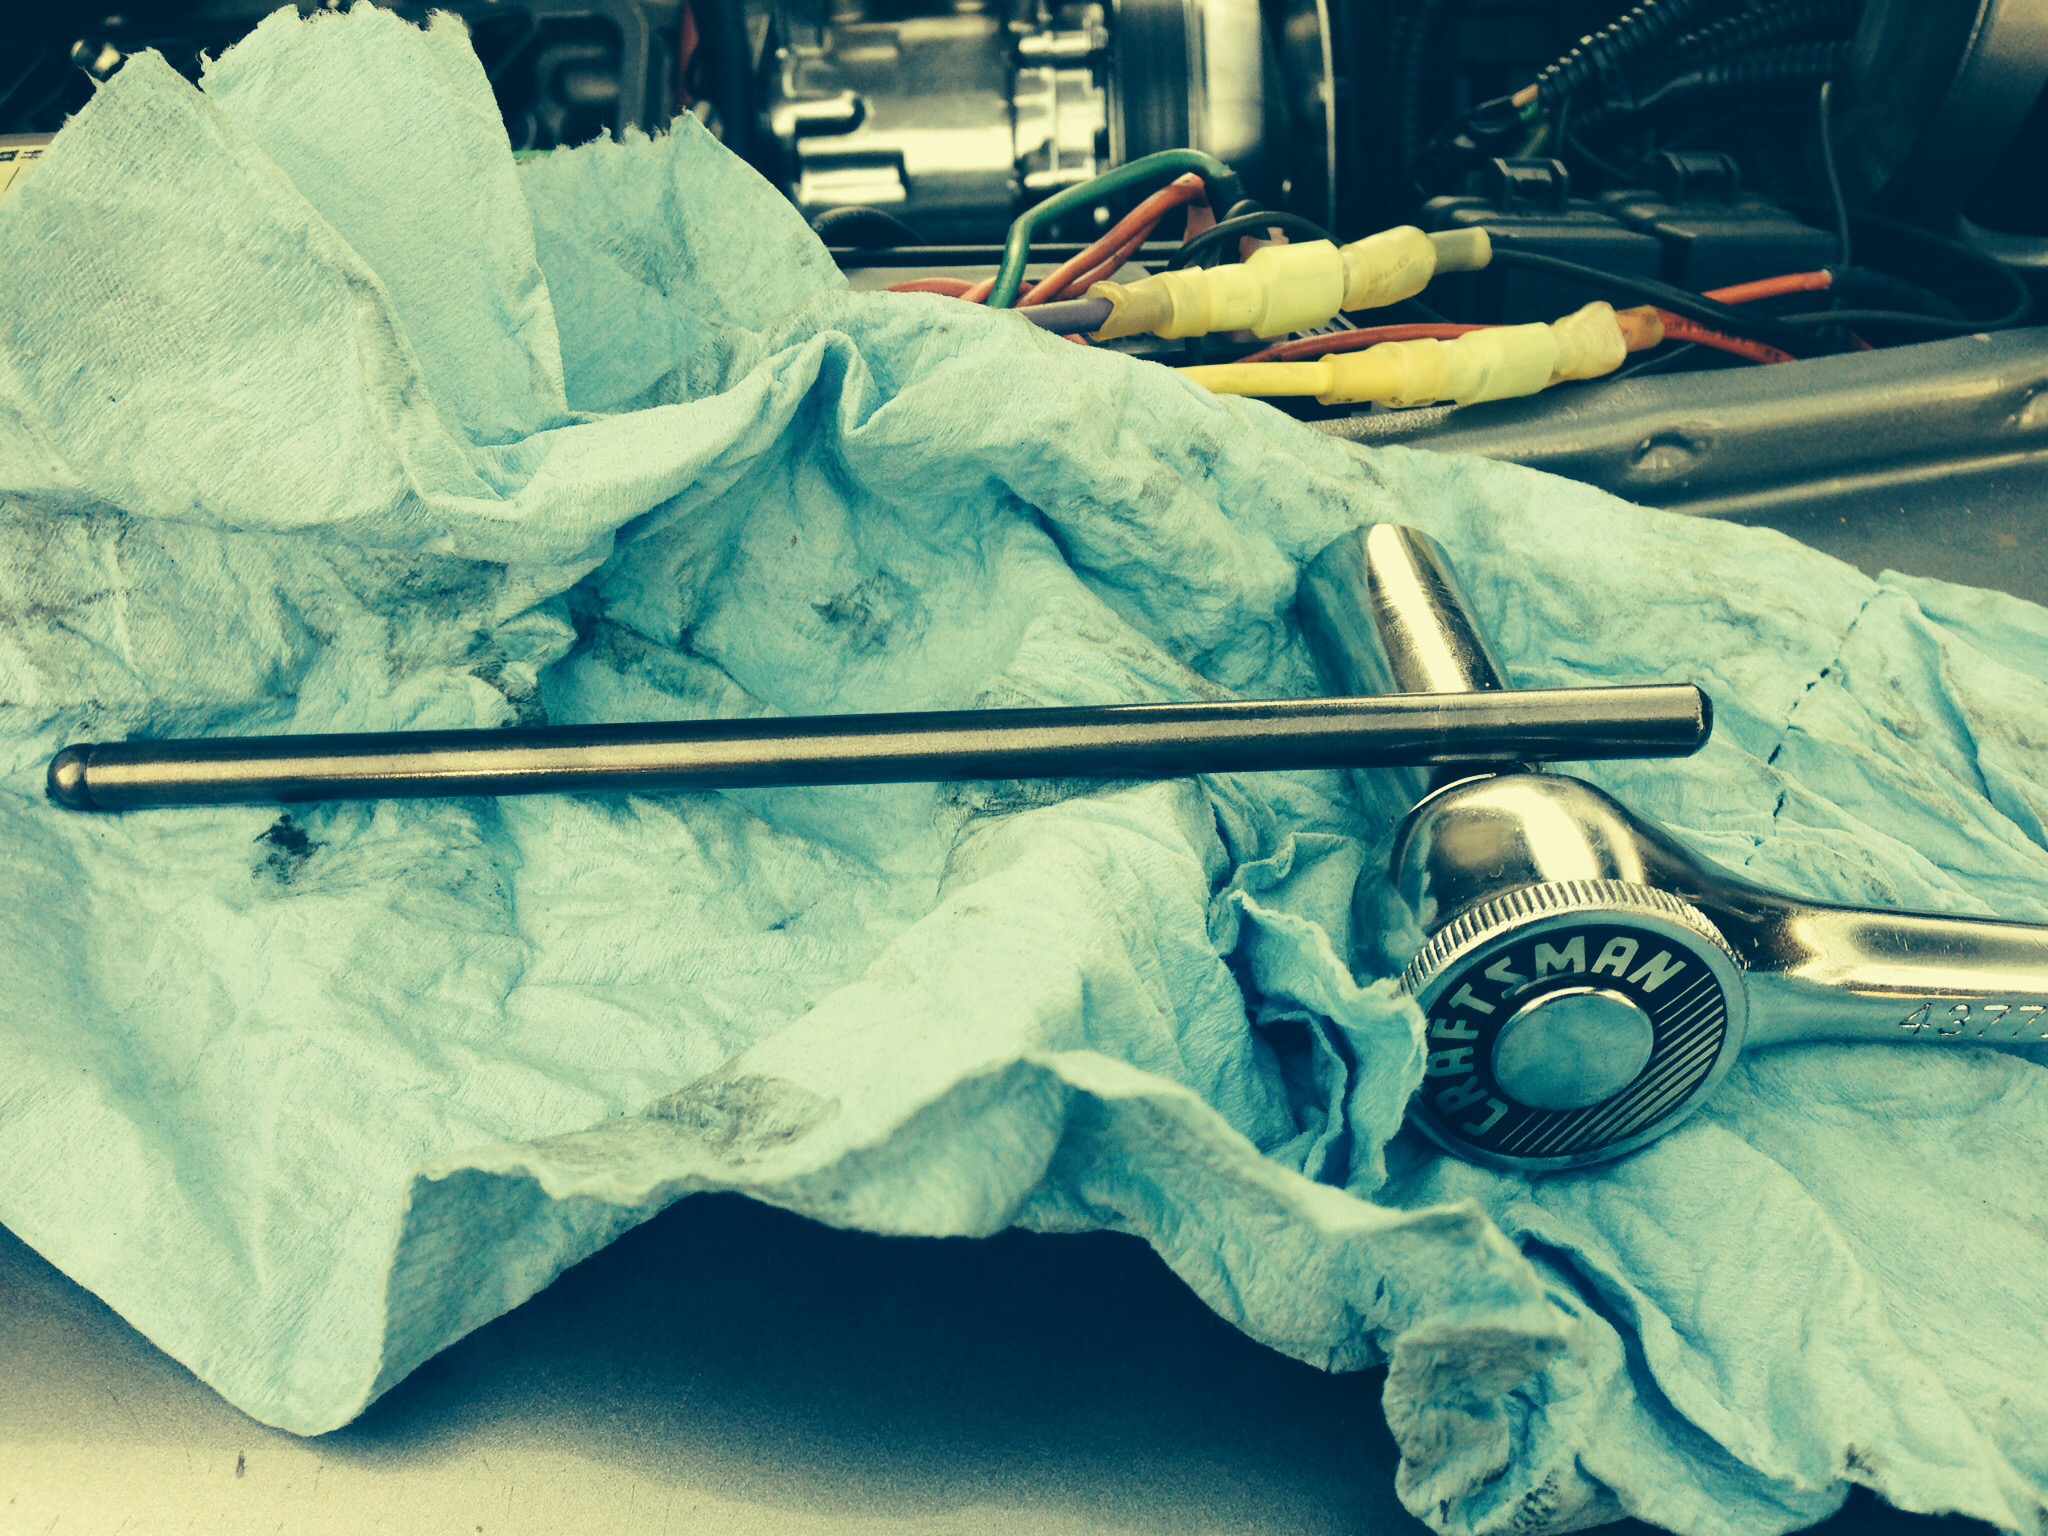
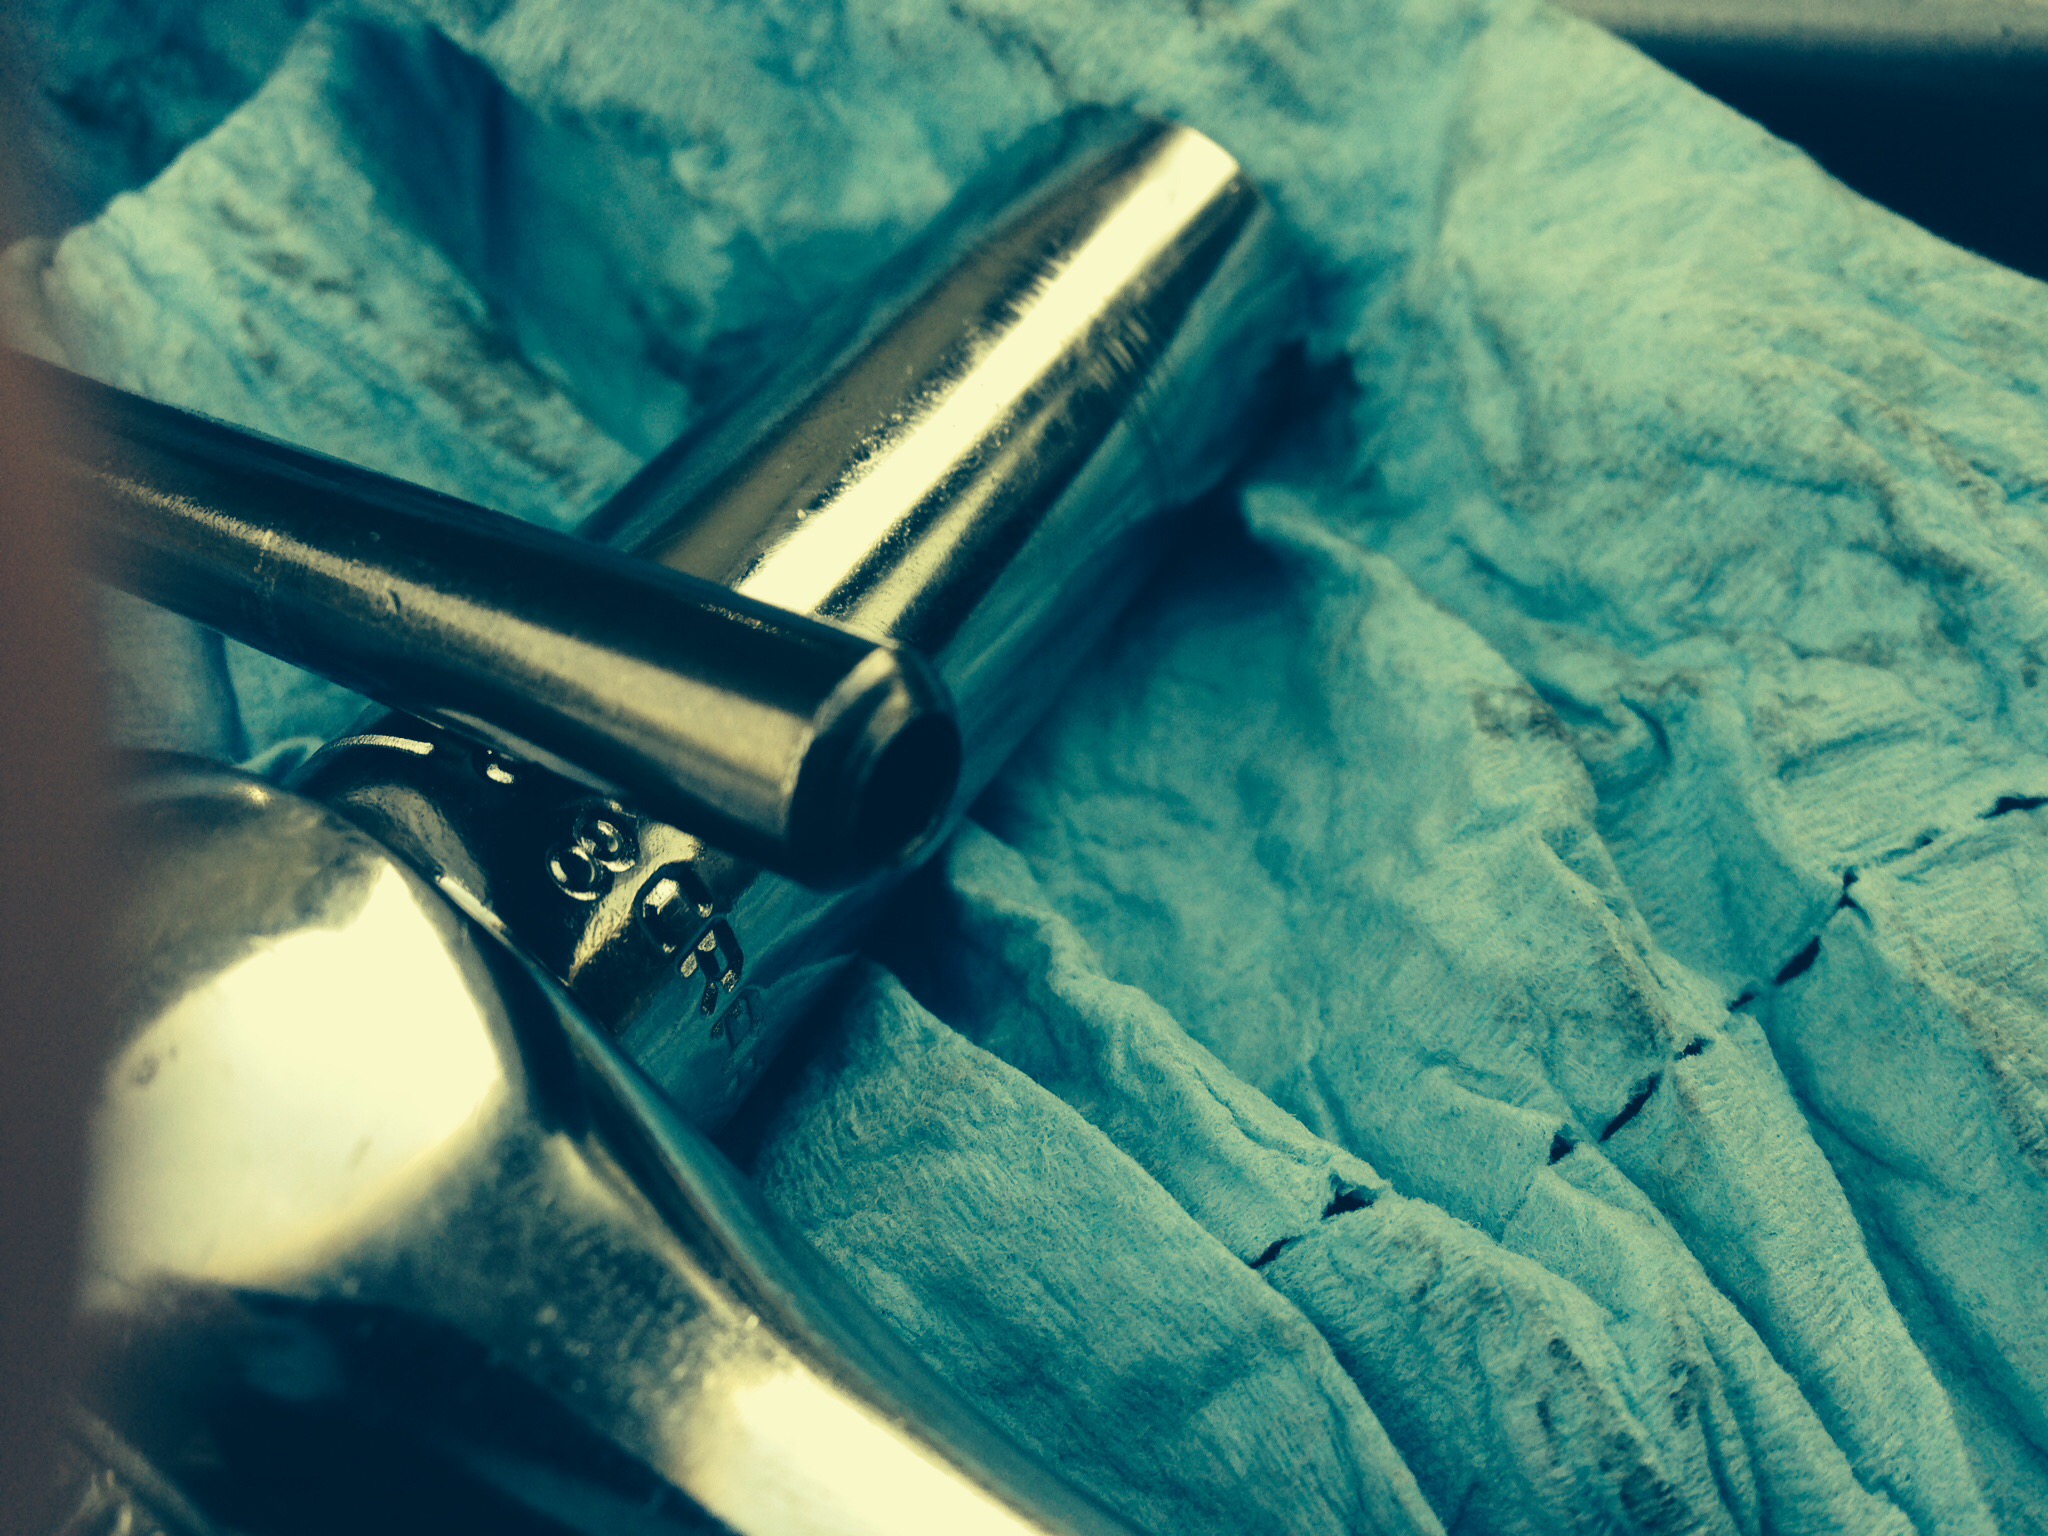
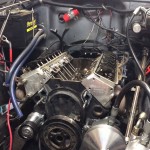
Off to the speedshop in Monroe go I.  Sideways gives me a hand and we take a closer gander at my pushrod shrinkage issue.  Given the rather nice valve geometry, the diagnosis of the pushrod hardness comes pretty quickly.  I’m worried about the shower of metal filings that has been sent to my engine, but Sideways says I have a pretty good chance of getting away with nothing more than a filter change.  

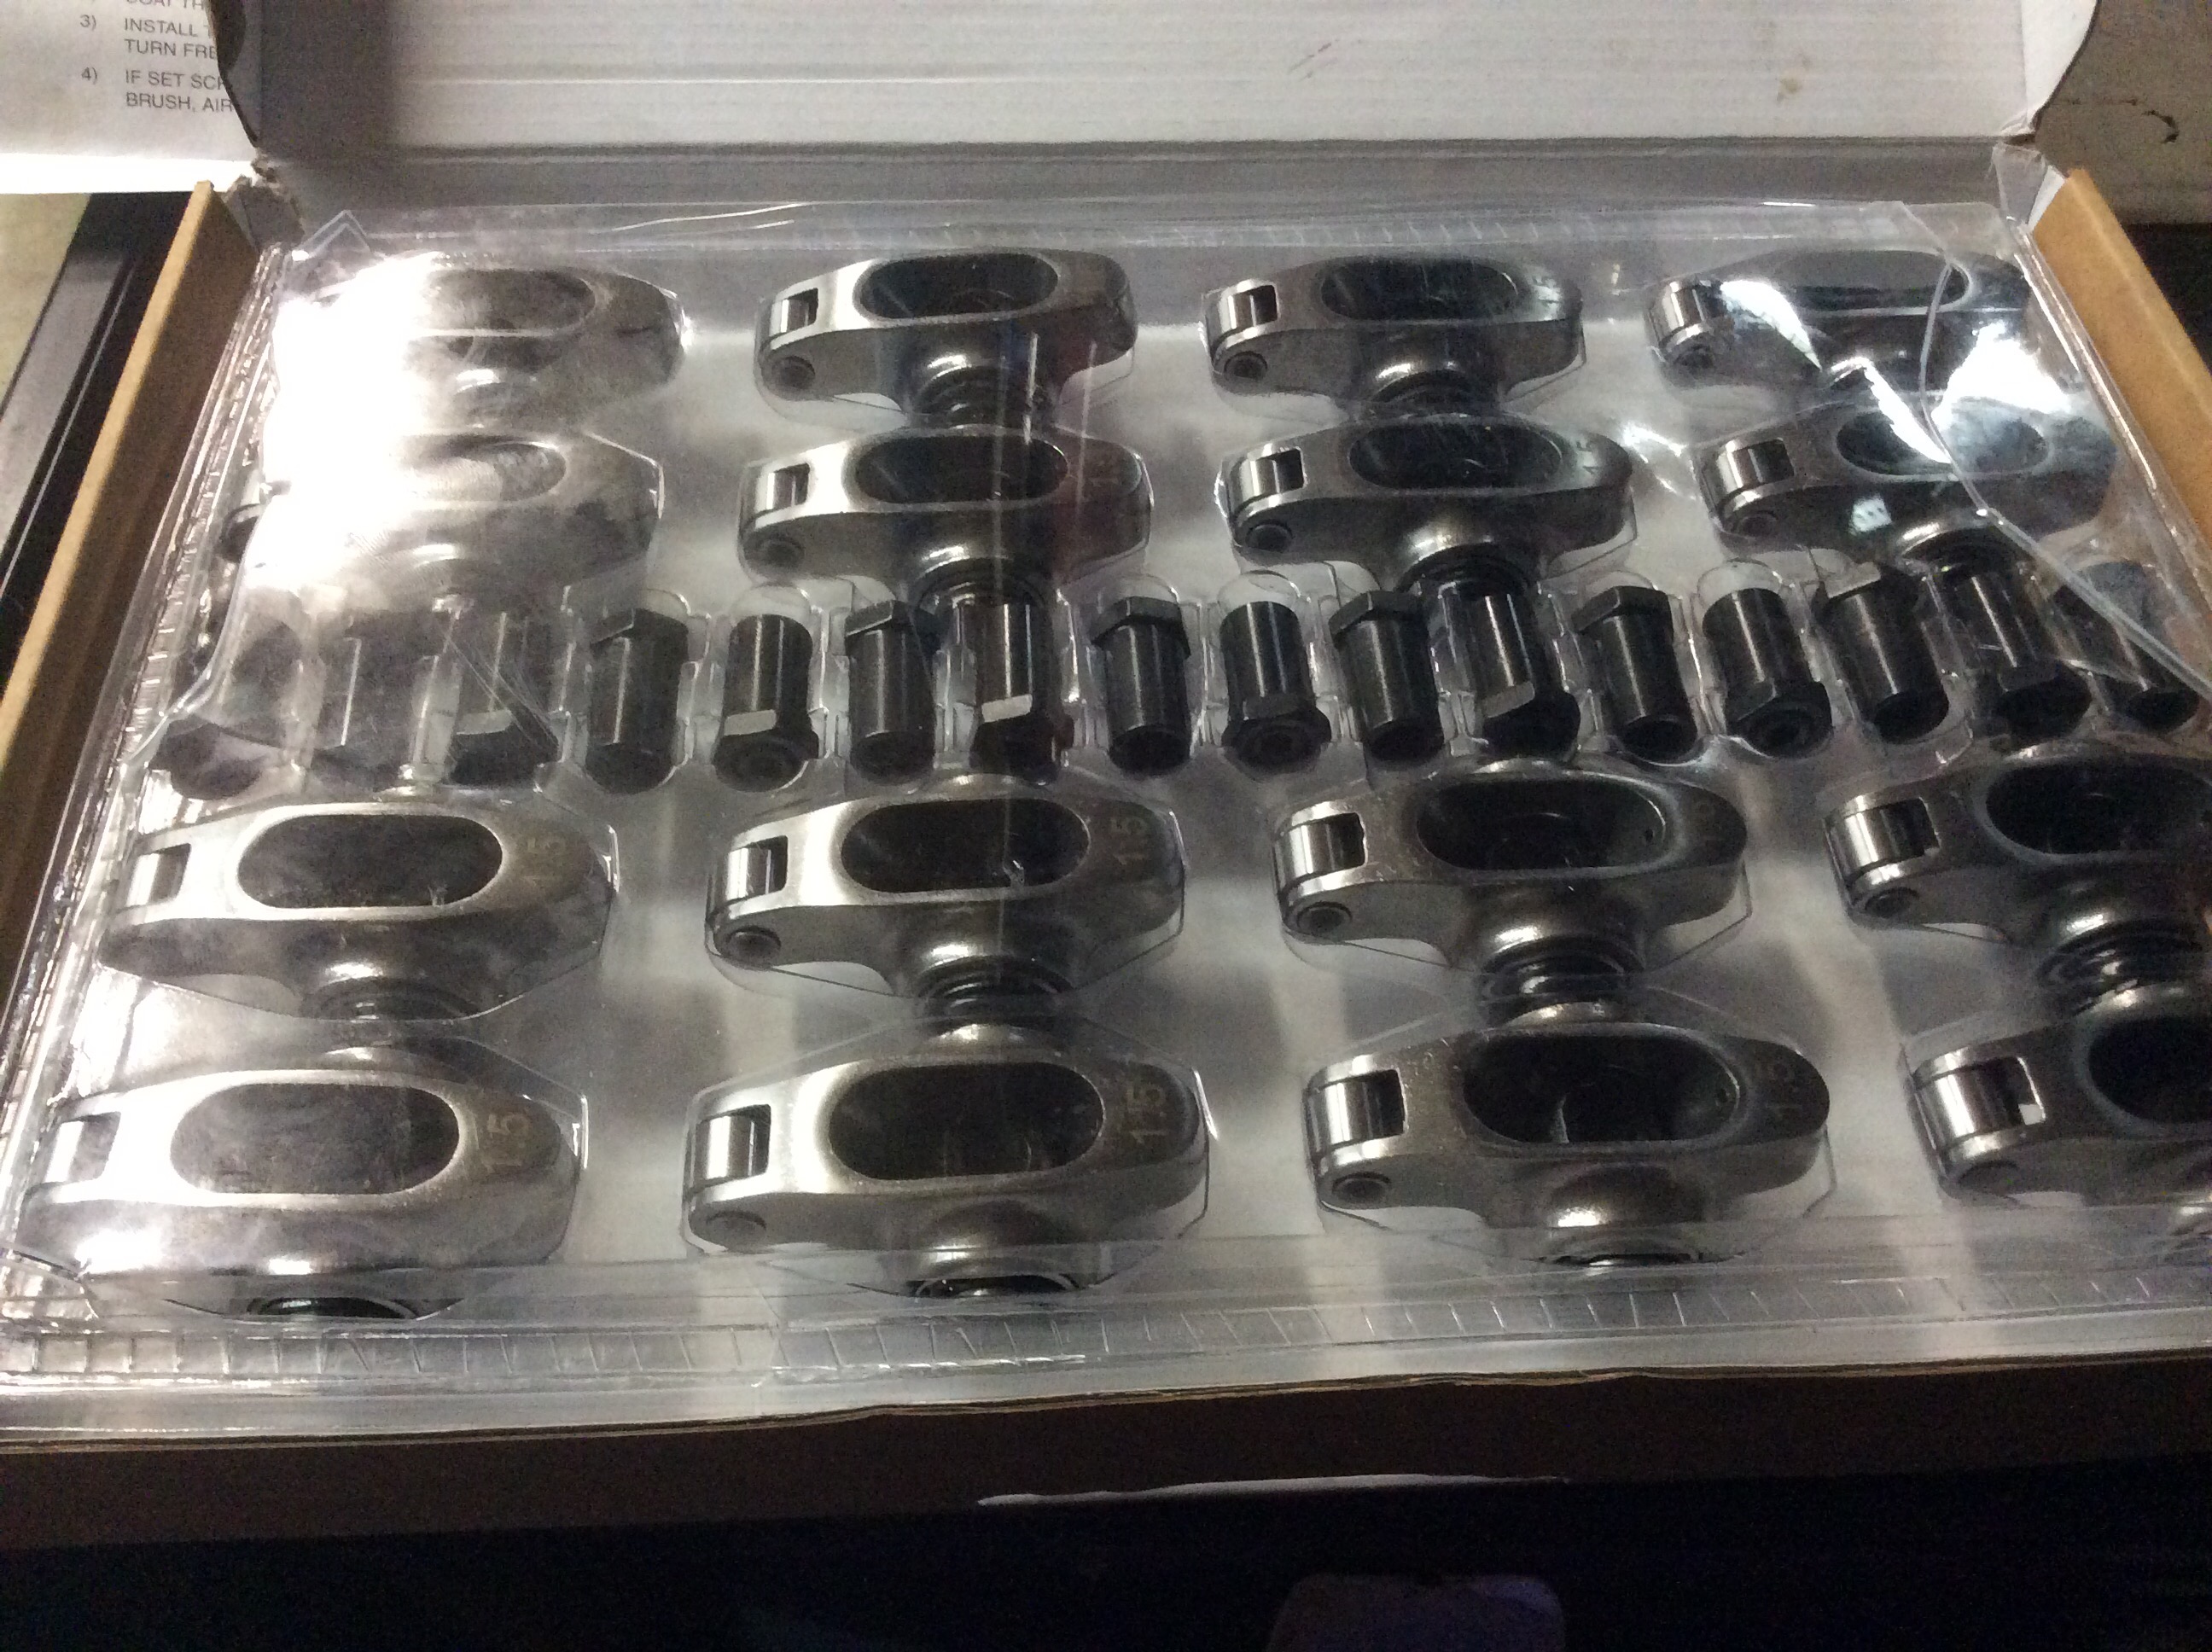
Hope in hand, I leave with a new set of stainless roller rockers, and new hardened pushrods.  Sideways says I should have plenty of room in my center bolt heads.  Hey maybe this won’t be so bad after all!   


Shrinking pushrods

Traveling along the Mountain Loop highway I had noted the sound of misadjusted rocker loads.  I had heard this sound before, and in fact had just done a valve adjust the morning of.  I had hoped that I simply had a rocker nut that was loosening up, so got on the Internet and ordered up some polylocks.  It was a bit far fetched, given they were brand new rockers pushrods and nuts, but that’s what hope and denial will do to you.  Somewhere in the back of my mind I knew that was not going to do it, so when the polylocks arrived I committed to pulling a rocker or two and doing a close inspection.   


The results of that inspection were pretty conclusive.  My pushrods were eating themselves at the rocker arms.  The worst had eaten clean through the welded ball of the pushrod end.  Clearly, this is going to be a problem.  

Next up was valve geometry.  Which was perfectly centered across the valve stem.  No problems there.  


The plot thickens.

Mountain loop highway.

The Mountain loop highway between Granite Falls and Darington makes for a great Saturday day trip.  It’s close, scenic and offers the right amount of rustic appeal.  Plus there is little doubt that one has truly gone off the beaten path, as once the pavement ends somewhere around the ice caves you are treated to a well worn gravel road.  Well worn of course as when the hillside collapsed in Oso blocking the highway into Darrington, this not so well traveled route became important to those who call the area home.  

Now ow when I mean the pavement ends and one is on a gravel road, I mean a pothole filled gravel road.  Potholes as I discovered that quickly laughed at even 35 inch tires.  If you can’t find a clear path around the deeper ones, you had better slow down and drop each wheel in one at a time lest you find yourself turning wrenches on the side of the road.  

Now, this is a route that does not require a true offroad vehicle, though it helps.  You just might find yourself slowing down more frequently.    But don’t let that stop you.  The rustic charm is very much a part of its appeal.  The highway had been closed for some time after a bridge was washed out in a winter storm, but has been back in service since 2008 after the bridge was put back in service and the roadway restored.  

For me, it was a great outing and felt like it did some justice for what this Jeep was made for.  Though by the time I got back onto pavement close to Darrington, I noted my engine was revealing some unwanted noise from her lifters.  That will be another story, but for now try to enjoy the pictures.  


ProFlo Tuning

Fuel Modifier Table


1000

2000

3000

4000

5000

7000

WOT

0

0

0

0

0

0

6″

0

0

0

0

0

0

12″

+4

0

0

0

0

0

18″

+4

0

0

0

0

0

Spark Modifier Table


1000

1750

2500

3500

4500

6000

WOT

0

0

0

0

0

0

9″

0

0

0

0

0

0

18″

+6

0

0

0

0

0

Target Idle RPM

665

Idle Fuel Mod

+16

Idle Spark Mod

-3

Idle Spd Activity

0

Idle Control

On

Closed Loop Fuel

On

Base Timg

Off

Rev Limiter RPM

6000

Tps

14

Transient fuel

0

Cold start fuel

0

Global fuel Mod

0

Global sprk mod

-4


Observed Issues:


O2 sensor shows running rich at idle (expected)

Warm start idle will often surge slightly.

Otherwise runs fairly well.

I get some exhaust backfiring at idle, fairly soft.


Actions Taken:

Retarded timing to solve pinging

Added Idle Fuel to solve surging.


History:

Previously had terrible idle surge issues.

The vehicle had been dyno tuned, but the idle was not set with the foot on the brake, thus did not pick up the load of the hydroboost power steering pump and related braking effect.

The solution was when I finally added significant fuel around idle.

There was a little pinging on hills, solved by retarding the spark.

Bauer Scuba Compressor

Here are some pictures of my Bauer Verticus Scuba compressor. No longer diving, I have been slowly selling off my diving possessions. I had amassed quite a collection as an early tech diver in The Pacific Northwest. My system was capable of supporting a small dive store and I had the capability of producing air, Nitrox, Trimix, as well as boosting gases such as Oxygen and Argon.

IMG_0274.JPG

IMG_0269.JPG

IMG_0270.JPG

IMG_0273.JPG

IMG_0271.JPG

IMG_0272.JPG

DC Generator 4

Routing all those return lines off the fuel filter seems like too many potential failure points. The filter itself is nothing special so I’m just going to remove it as I already have a separate filter.

I need a way to mount the heat exchanger. The assembly instructions have no advice for this. There are no pictures of it mounted anywhere, so I spoke with Dan at aquamarine. It seems that generally this may get mounted off engine with a pair of blocks he will send me. He had them dropped off at my boat so I drove up to the boat. They are nothing but some v shaped plastic that the are zip tied to the exchanger. I neither like the blocks, and like the idea of mounting the exchanger off engine even less. So, I’ve mocked up a possible mounting bracket with some scrap wood and hot glue.

20120506-212148.jpg

This was not too terrible design for a first shot at the problem. I’ve fabricated it out of 304 stainless. Even with argon shielding my welder was giving problems. I think the polarity may be failing, but I as able to get good penetration even though the welds themselves were pooling excessively. It looks so so, but should be plenty strong enough.

20120506-212508.jpg

Here is the heat exchanger sitting on top of the fabricated mount with the fittings and hoses in place. It actually fits rather nicely.

20120506-212642.jpg