DC Generator 4

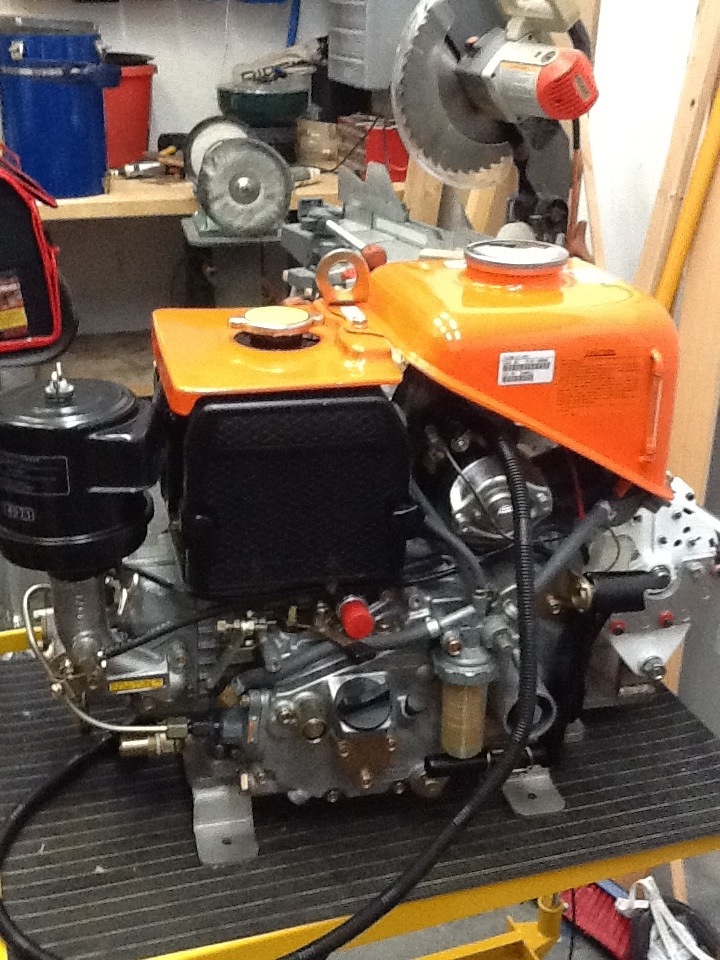
Routing all those return lines off the fuel filter seems like too many potential failure points. The filter itself is nothing special so I’m just going to remove it as I already have a separate filter.

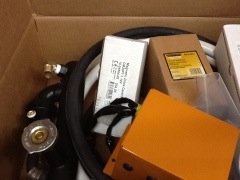
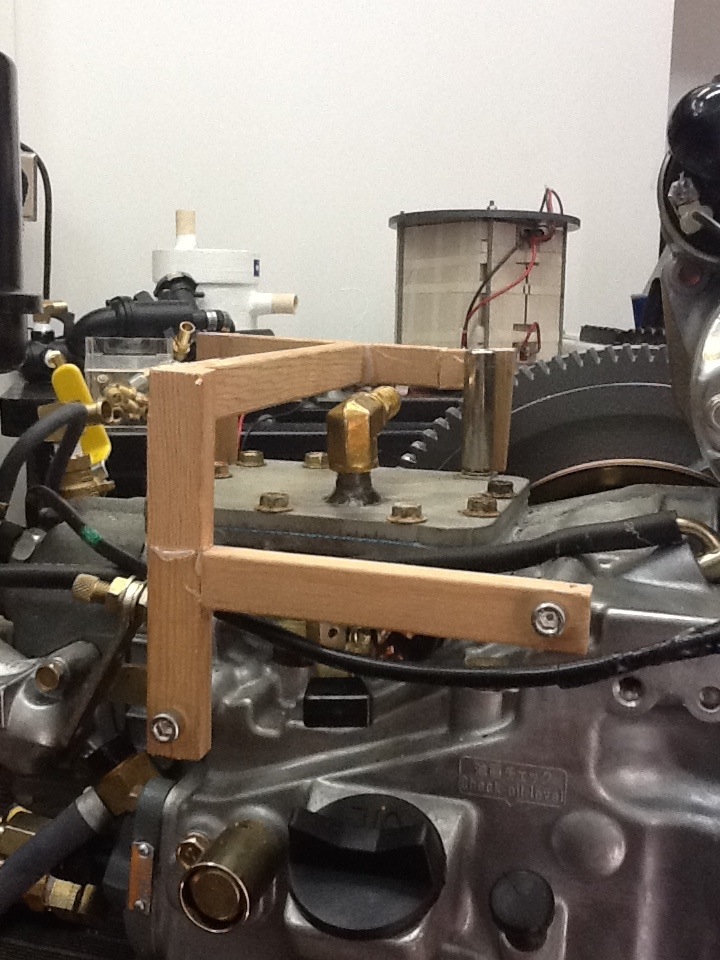
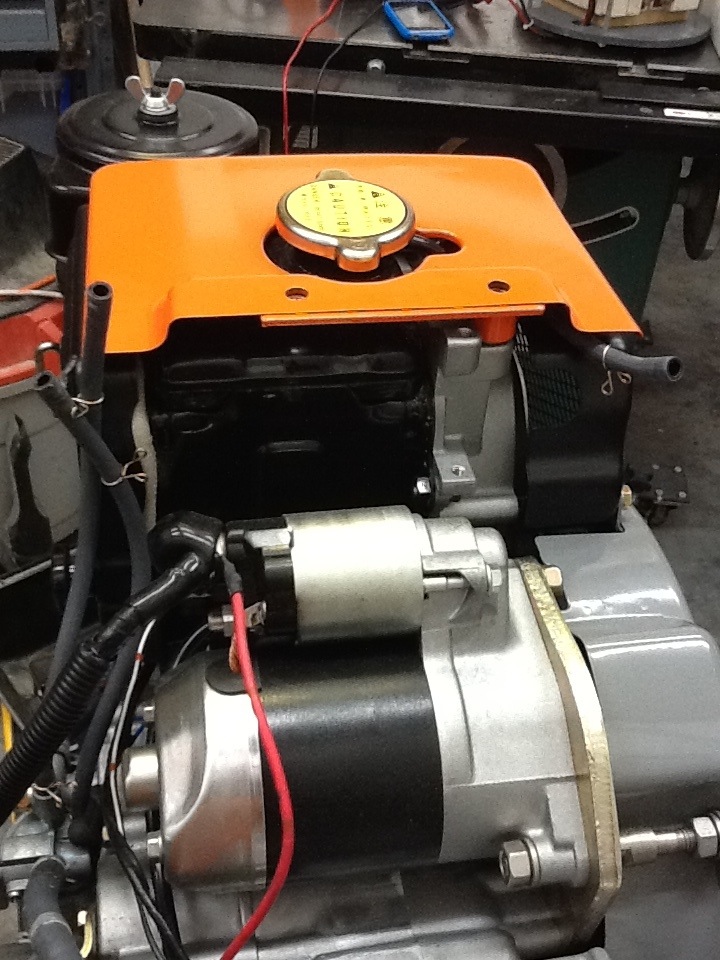
I need a way to mount the heat exchanger. The assembly instructions have no advice for this. There are no pictures of it mounted anywhere, so I spoke with Dan at aquamarine. It seems that generally this may get mounted off engine with a pair of blocks he will send me. He had them dropped off at my boat so I drove up to the boat. They are nothing but some v shaped plastic that the are zip tied to the exchanger. I neither like the blocks, and like the idea of mounting the exchanger off engine even less. So, I’ve mocked up a possible mounting bracket with some scrap wood and hot glue.

20120506-212148.jpg

This was not too terrible design for a first shot at the problem. I’ve fabricated it out of 304 stainless. Even with argon shielding my welder was giving problems. I think the polarity may be failing, but I as able to get good penetration even though the welds themselves were pooling excessively. It looks so so, but should be plenty strong enough.

20120506-212508.jpg

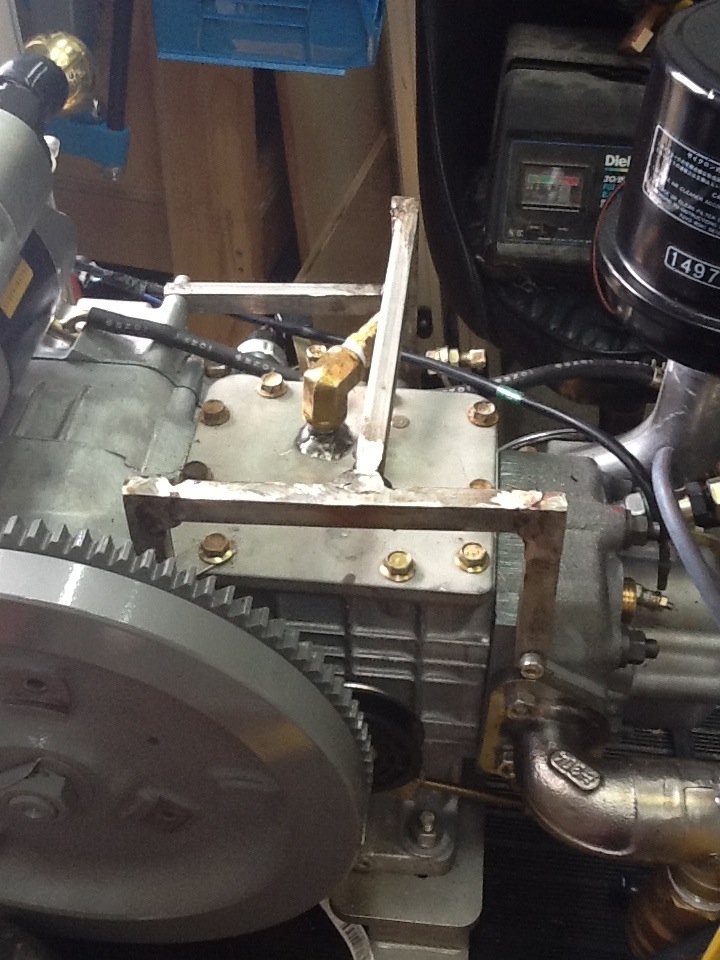
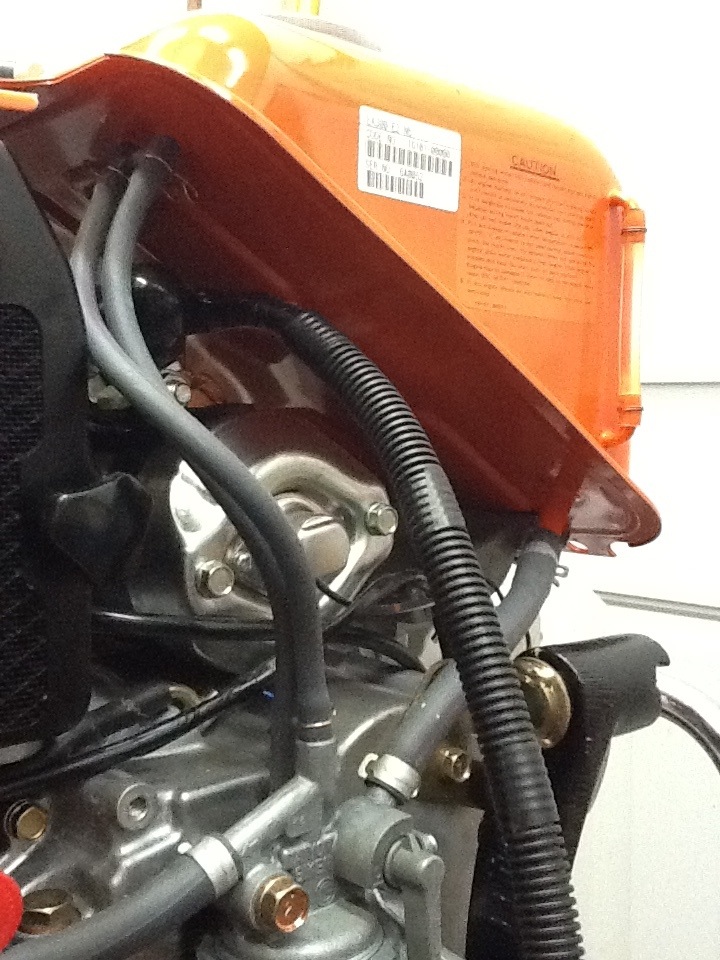
Here is the heat exchanger sitting on top of the fabricated mount with the fittings and hoses in place. It actually fits rather nicely.

20120506-212642.jpg

DC Generator 3

Now that the radiator is off. I need to mount a plate in its old spot. But, hey its too small! Apparently I’m not done, there is one more plate underneath to remove.

20120506-172125.jpg

Look how much corrosion is present. The factory uses fresh water to test the units. Imagine what things would look like if one did not use a quality antifreeze.

20120506-172335.jpg

Blanking plate is all set.

20120506-172544.jpg

Because the blanking plate will now be the preferred entry point for antifreeze into the engine, the nipple on the head needs to be plugged. Unfortunately to get a wrench on it to remove the glow plug must temporarily come out. Once the plug is screwed down, the glow plug can get reinstalled.

DC Generator 2

Before I can get started adding components I need to remove a few first. I need to remove the fuel tank as I will feed this unit from my inboard fuel tanks. Next, I’m going to cool the unit with a heat exchanger with wet exhaust, so the fan and radiator need to be removed.

First, the fuel tank comes by removing a few bolts, it has one feed line and multiple return lines.

20120506-164540.jpg

20120506-164616.jpg

Next up is the radiator. The radiator fan has its own belt, to remove it the shroud needs to come off.
href=”http://mvghost.com/Voyages/wp-content/uploads/2012/05/20120506-214436.jpg”>Continue reading “DC Generator 2”

DC Generator 1

The new dc generator arrived!

20120506-162702.jpg
I was expecting some amount of assembly, but it arrived with essentially none of the accessories installed. I’ll have to mount and rig the heat exchanger, the circulating pump as well the fuel pump. They are currently in their own box.

20120506-163312.jpg